“Jacob took that coke in his hand, the Herald919, what he named his other “arm”, made of tinker and junk mimicked the same. As he undid the wrapping, Herald broke the other one.”
 Take a look at your hand and now replace (mentally) every moving part of it with metal segments and joints and there you go! you have your very own robotic arm. Usually a robotic arm has six degrees of freedom, is made with over seven segments of metal framework, having over six joints and are designed for repetitive heavy manufacturing work. For those who pursue robotics as a hobby here’s an easy way to make a simplified robotic arm.
You’ll need thin wooden planks, wires, a solder iron and 4 DC Motors with varying RPMs. Note one of the motors must be a low RPM motor that can help in gripping objects.
| [](https://2016.robotix.in/img/blog/2011/09/roboticarm_21.jpg) | [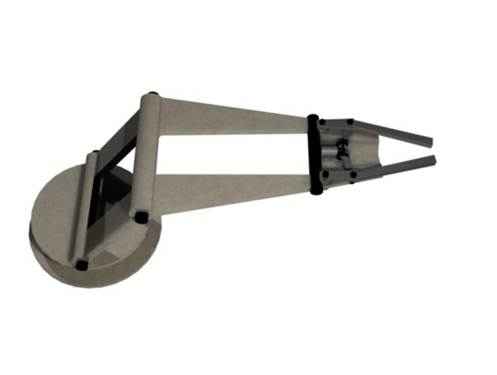](https://2016.robotix.in/img/blog/2011/09/roboticarm_31.jpg) |
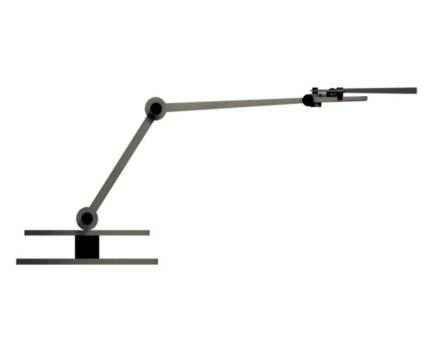
The base of the arm is a disk mounted on a motor fit at its center. Now fit a motor to the base with its axis horizontal. The other end of the two planks now hold the third motor which in turn is fit within two more shorter planks. This segment holds your gripping arm at its end. It has the last motor fit with the four bar mechanism (and preferably the one with the least rpm). Four bar mechanism involves the use of four short rods connected as seen in the pic below.
Now that we have made the chassis you can now move on to making better and more accurate arms using servo motors and even simulate a human arm using Image Processing. We ,Team Robotix had our very own robotic arm built under the project “Michelangelo” where the arm drew graphs of functions .
Find out these methods and lots more on our website www.robotix.in.